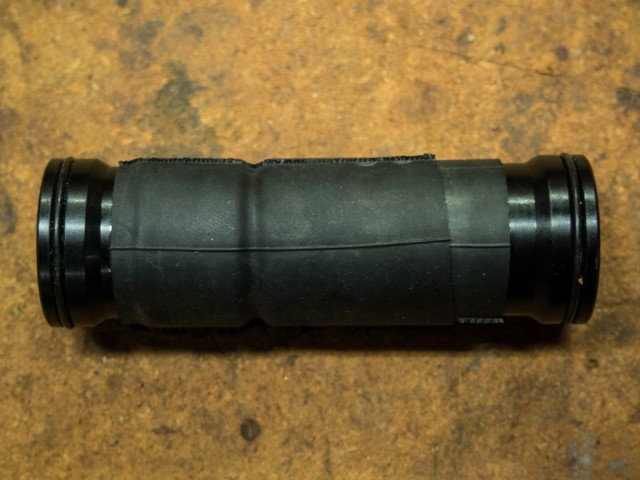
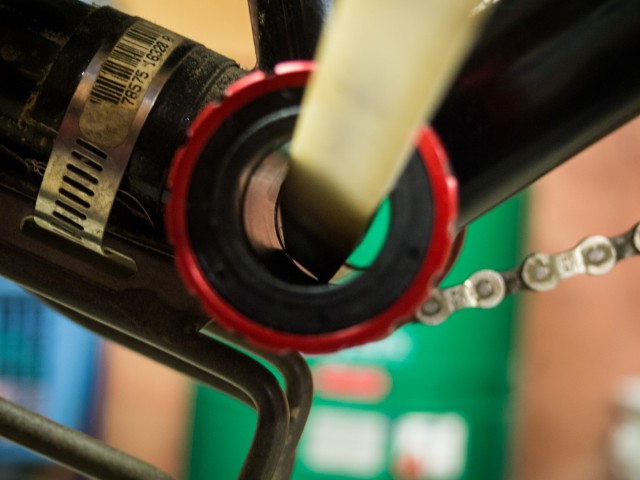
Warning: Bike Geek Post! Most cyclists have a certain bike part they tend to destroy. OK, some, like Scott Pauker, seem to destroy most everything, but for me it’s bottom brackets. This post isn’t meant to start a which BB is better debate, we’re all at the mercy of the manufacturers and their latest “standards”. For touring I’ve settled on the external bearing standard, because it’s currently the most widely used and easiest to replace. Also, unlike square taper bottom brackets, one size fits most, with the right adapters.
The right adapters, specifically the center sleeve, is what this post is about. In getting my Surly Pugsley ready for this summer’s adventure, I decided to replace the well worn stock bottom bracket with a Hope FatSno 100mm stainless steel bottom bracket. I got almost five years out of the Chris King bottom bracket on my Troll and would have bought another for this bike, but the price has gotten ridiculous and it now requires an additional “conversion kit” for bike fitment. The center sleeve of the Hope FatSno is designed to work with a 100mm bottom bracket shell and three spacers, while the spindle on the Surly Mr. Whirly crankset on my Pugsley is designed to work with a 100mm bottom bracket shell and one spacer, on the drive-side.

Install 3 spacers and the crankset doesn’t fit; install one spacer and the cups don’t fully thread in because the center sleeve is to long. Most people just omit the sleeve, but that leaves the bearings less protected from the water and mud that accumulates in the bottom bracket shell. Here’s a better way to fix the problem. First, the tools:

The sleeve needs the width of two spacers removed from the center, so I marked the area to be removed, clamped the sleeve in the steerer tube cutting guide, clamped the guide in a vice, and started cutting.

Two cuts remove the needed material.

Deburr the edges with sand paper, cut two pieces of inner tube and slide them over the sleeve. Some silicone spray or a little grease makes sliding the tube pieces easier.

If you don’t have a drain hole in the bottom of your bottom bracket shell, now’s the time to drill one. A 4mm or 5/32 drill bit is about the right size and make sure you center punch a starting point so the bit doesn’t walk.
Once that’s done, clean the bottom bracket shell and bearing cup threads, grease everything, install the bottom bracket with the modified center sleeve (remember, the drive-side is lefty-tighty and make sure you didn’t lose the o-rings on the ends of the sleeve) and you’re done.
If you want to fit a common 68mm/73mm bottom bracket to the 100mm shell on your fat bike, no problem, the inner tube bridges the excess space. If you do adapt a narrow width sleeve to a wide bottom bracket shell, make sure both ends of the sleeve are fully seated in the bearing cups before installing the crankset.
This modification can be used for converting just about any bottom bracket sleeve to fit any width shell and crankset combination.

The bearings are on the outside of the frame. Why would water entering the inside of the bottom bracket effect external bearings. I think you are over thinking this…regards
Being that I’m not sure if you’re thinking about this enough, let me explain. Water can get into the bearings from the outboard side, between the seals and also between the inner bearing race and the crank arm spindle. This is why some cranksets (upper end Shimano and maybe some others) have an O-ring to seal this space. Yes, the fit between the spindle and inner race is tight, but there is still space and that is why you can remove your crankset without a press. As a note – Surly Mr. Whirly cranks do not have this O-ring from the factory.
Water gets into the bearings from the inboard side, when there is no sleeve, from the water that accumulates in the bottom bracket shell. Water gets into the BB shell from a few ways: condensation, tube vent holes from welding (usually by the dropouts), and down the seat tube. That is why some seat tube slots face forward – to reduce this. This is also why drilling a drain hole in the bottom bracket shell is recommended. When you look at the sleeve for outboard bearing bottom brackets, there are O-rings that seal the sleeve into the bearing cups to prevent water in the BB shell from getting into the bearings.
Gotta love a simple, elegant solution! Thanks for the idea, John.